Archive
Easy adding and viewing GeoTags with your phone camera
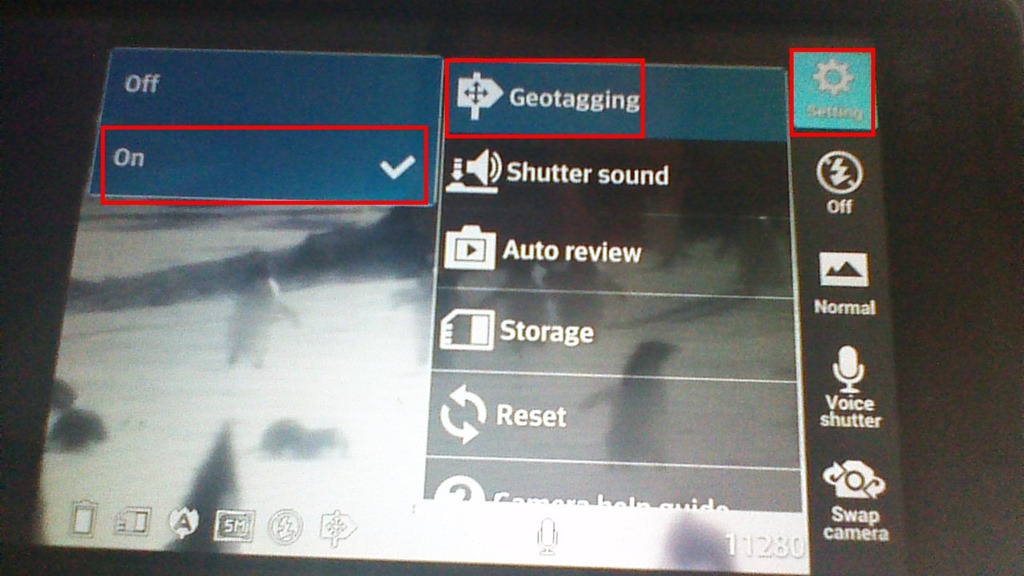
- “Open your camera app, go to “Settings” (sprocket), menu item: “Geotagging”, “On”:

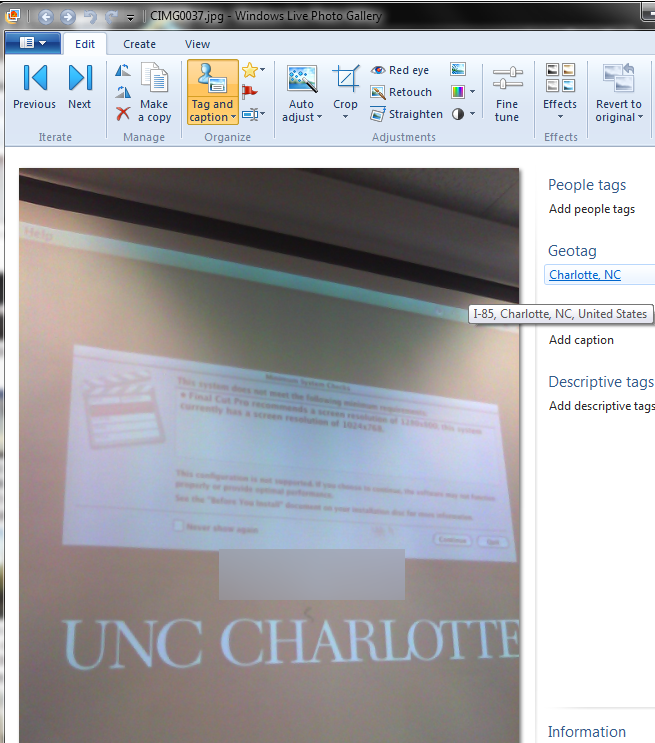
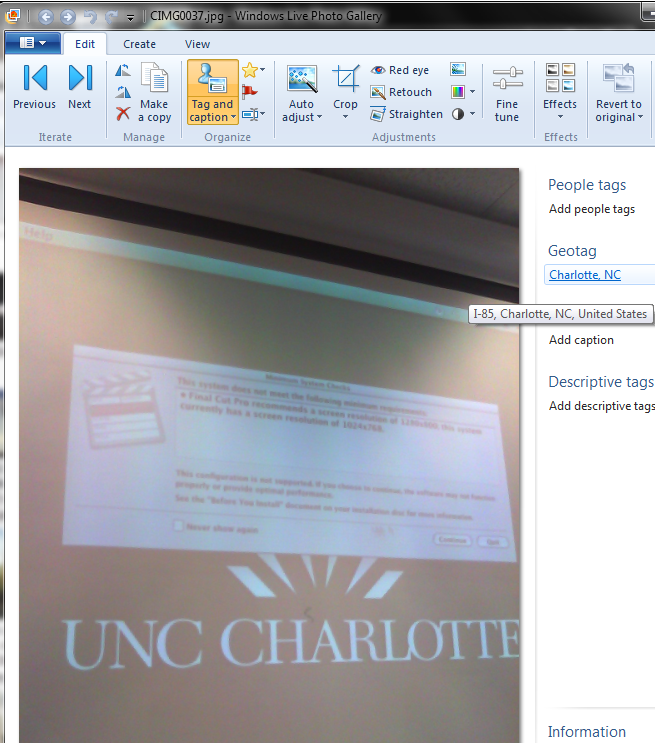
- Turning the phone’s the GPS on is not absolutely necessary, as this indoor basement shot proves:

- but will likely increase the accuracy of the Geotag in your photo greatly:

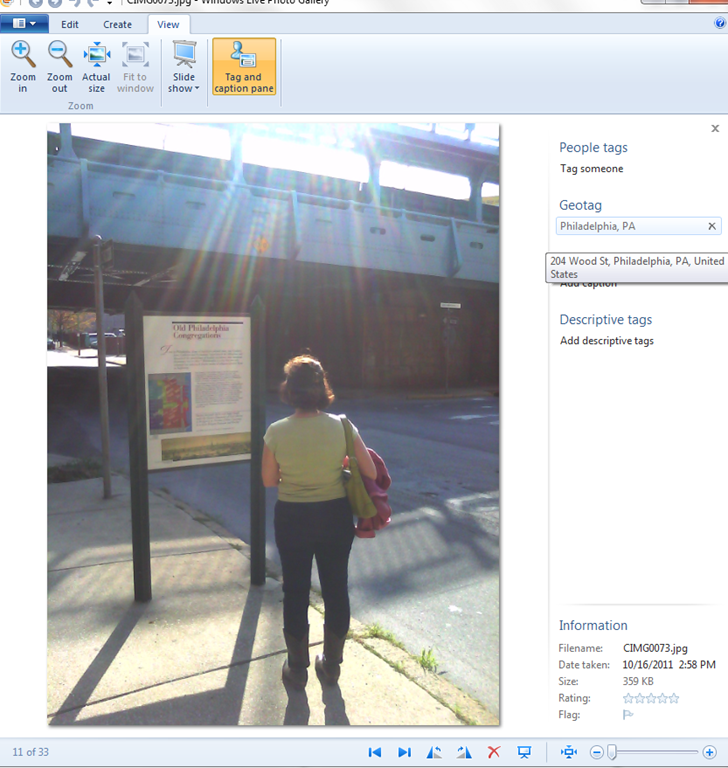
- How to view depends on your photo viewer application, above examples are taken from the free Windows Live Photo Gallery.

Using geolocation information in photos for documentation?
- During documentation writing today, I noticed that my WlGallery suddenly (?) started displaying the geotags in pictures taken with my Palm Pixi which I set a long time ago to store (and share) location information. I t looks like this has started working earlier, but gone unnoticed.
 I also looks like it uses cell tower triangulation, not GPS data (when the latter is not available?):
  At such a granularity, this feature can not be useful for generating documentation. But maybe for excursions?
 - But seems still a bit iffy, on the Pixi side of things: I am pretty sure that previously, I could not see geotags in my photos, even though I tried several image metadata viewers. Also, the Pixi does not always add geotags: is this limited to pictures taken when there are network connectivity issues?
- Also seems like editing operations in wlgallery, including create panorama, “eat” the geotags in the output image….
How to set up your laptop to use with the LRC portable Projector
- re LCD projector
- First, book the projector from this list of bookable items (manual included).
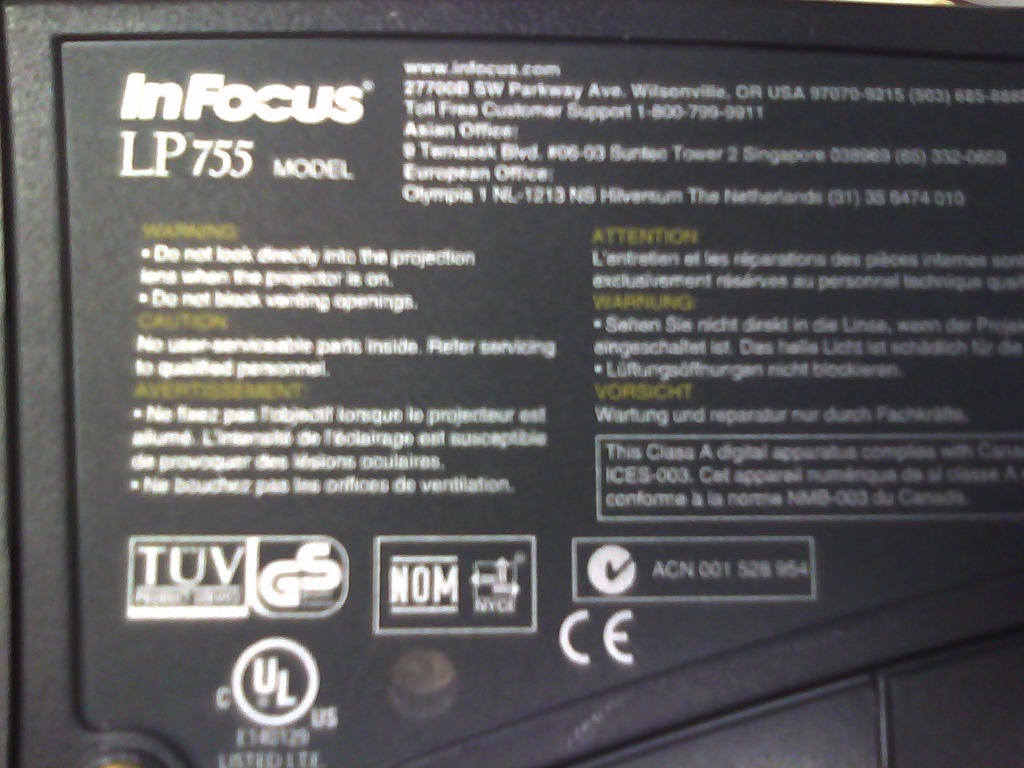
- Here is what we have as Projector:
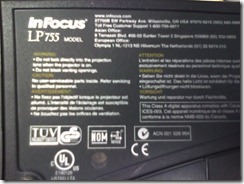 <
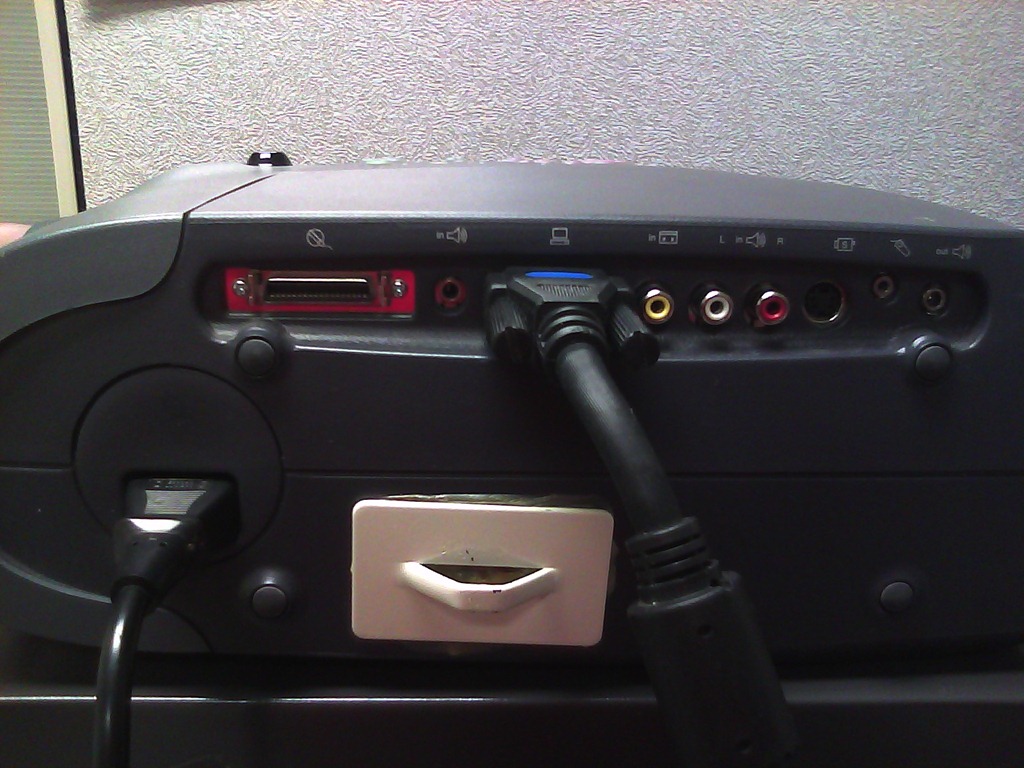
< - connect the VGA-adapter which is in the package:

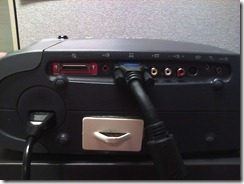 (if your laptop does not have a secondary VGA connector, you may need to bring an adapter).
 - power the projector on:
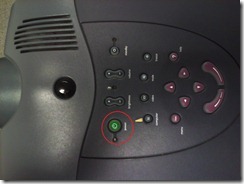 (also always power it off using the power button; never just pull the power plug).
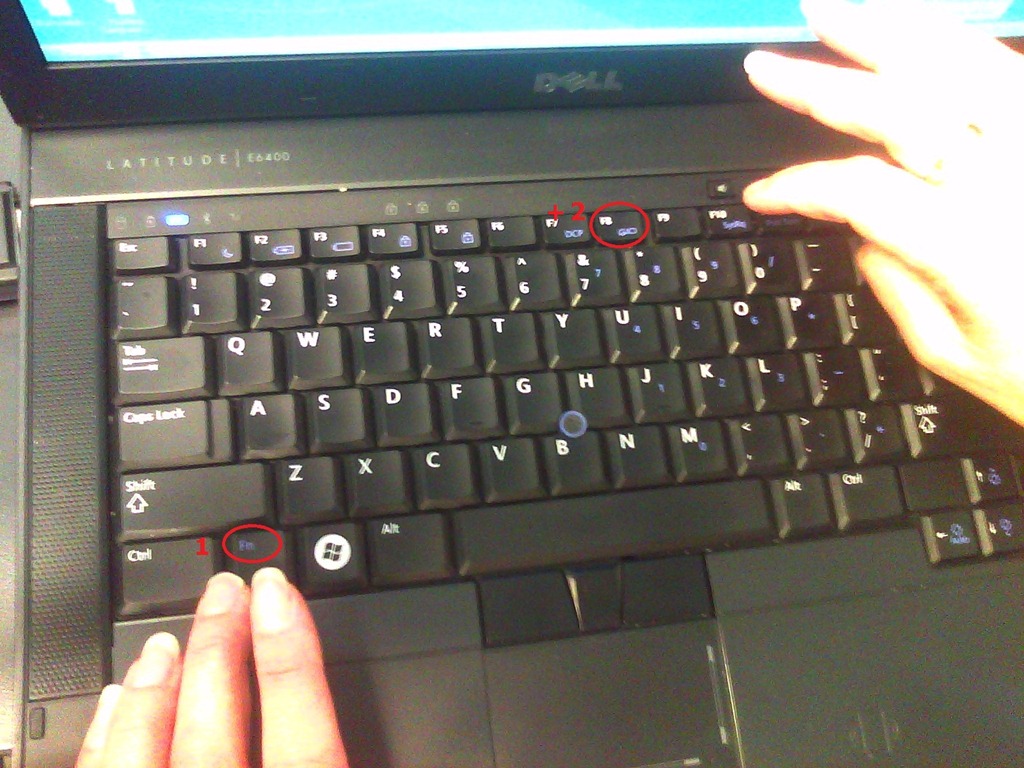
- on your laptop:
- find the key combination to enable the secondary output
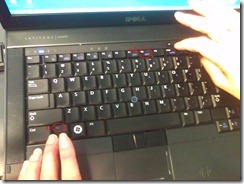

- right-click the windows desktop, access the graphics card settings;

- Enable the graphics card to send a video signal to the projector you just connected.
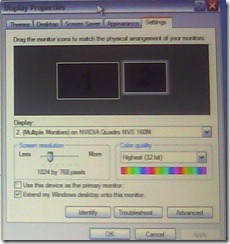 . I the projector native resolution is not automatically recognized, it is 1024*768.
- If you want to show a slideshow on the projector, go to PowerPoint
- ribbon, (1) Slide Show/ item: (2)) set up show, and bring up the (3) set up show dialogue
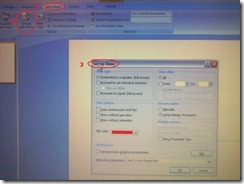
- here you can configure to show on monitor 2 (numbers correspond toe the numbers 1 and 2 in the graphics card dialogue above):
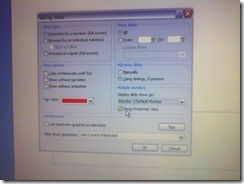 . Same principle as with other dual screen computers, like the teacher station in LRCCOED434.
- ribbon, (1) Slide Show/ item: (2)) set up show, and bring up the (3) set up show dialogue




Adapting a Symantec Ghost 11 Dell Optiplex 760 imaging setup to 780 hardware using Boot Wizard Win-PE editor
-
I have set up locally, and documented, a default installation of Symantec Ghost 11 (Ghost console version 11.5.1.2266) that can image a computer lab of dell OptiPlex 760 (not sure how I ended up with doing even this part).
-
Trying to set to implement use of our new live@edu communications infrastructure in this environment, I need to image a Dell OptiPlex 780 lab with this setup results in an error: “To Virtual Partition Drivers could not be found in the PreOS for the following devices:Manufacturer: "Intel", Description: "Intel(R) ICH10D/DO SATA AHCI Controller", PCI Vendor: 0x8086, PCI Device: 0x3a02, PCI Subsystem: 0x4201028”
-
The institution has not produced any documentation on this adaptation, so here goes: You can get a complete set of MS-Vista 32 drivers (which is the OS version that Ghost 11 Win-PE uses ) for Dell Optiplex 780 from Dell’s Driver CABs Homepage, including a table of contents.
-
You can expand this in Windows Explorer and look for the x86 storage driver, and you will find only one suitable: R222843, Matrix Storage Manager (OS Pre-Install Driver Only), A17, 8.8.0.1009
-
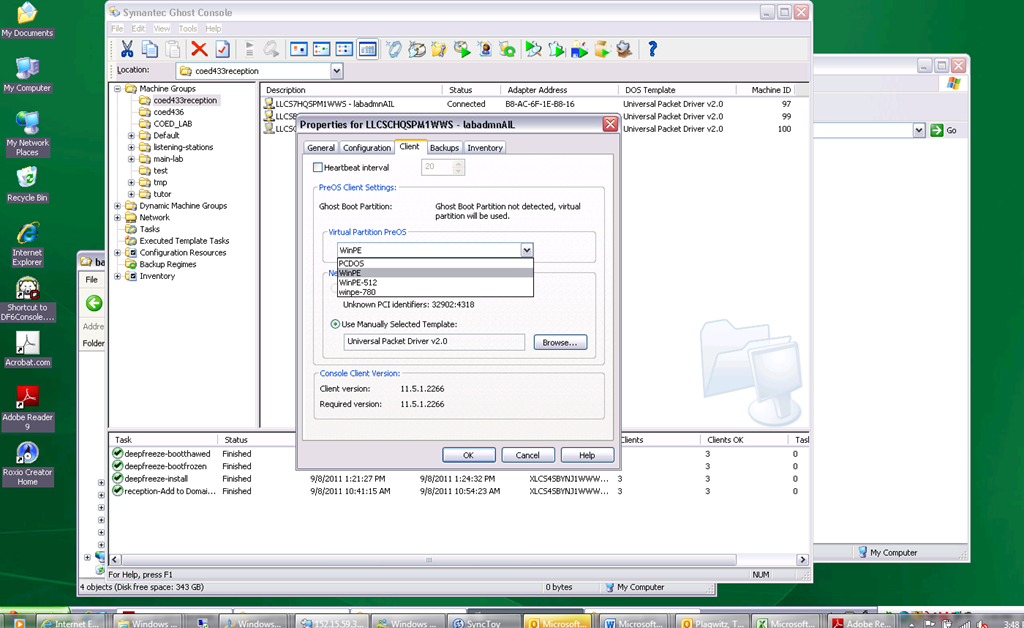
In Ghost console / tools / boot wizard, You can add this driver (entire dir, as long as it has a friendly name for ghost – could you have done this with the entire dell driver cab of 300mb?) to the win-pe-780 (I made a copy of the default win pee environment which I still need to use for a different set of hardware) (which then compiles the win-pe image), and
-
You also have to check the driver , to have it included (which compiles the win-pe image again – why? ).
-
You have to set in Ghost console menu; tools / options / the win-pe as the default remote boot os (this will have to be changed for 760 imaging back to win-pe).
-
Now, did this really “take”?

-
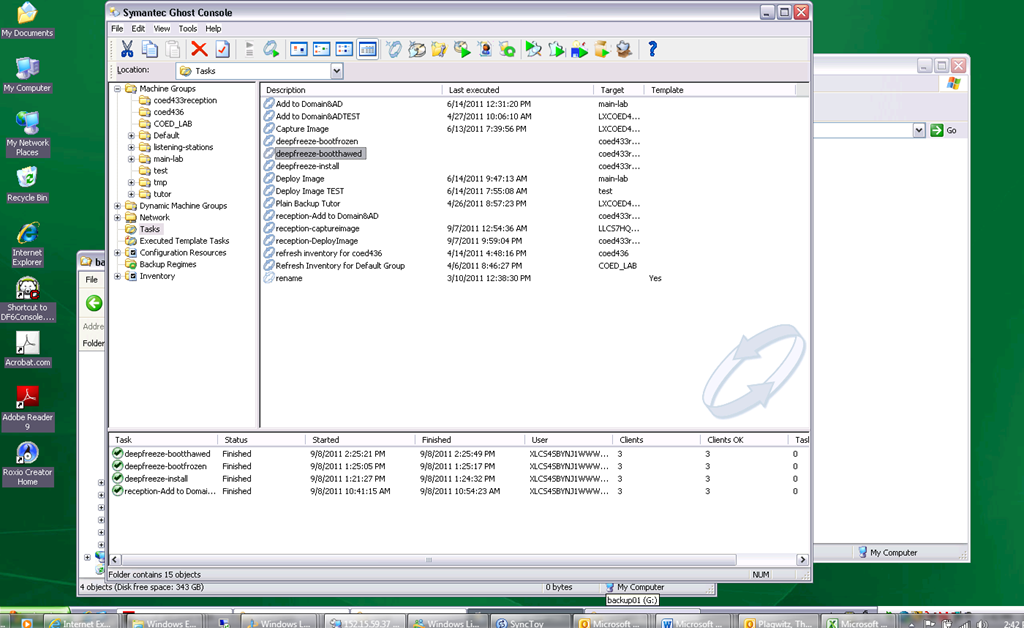
This allows the reception-captureimage task to complete.
-
Additional tasks reception-DeployImage and reception-Add to Domain&AD can be derived from the default installation.
-
We can also deploy and manage Deepfreeze now from the Ghost Console, bypassing Deepfreeze Console.
-
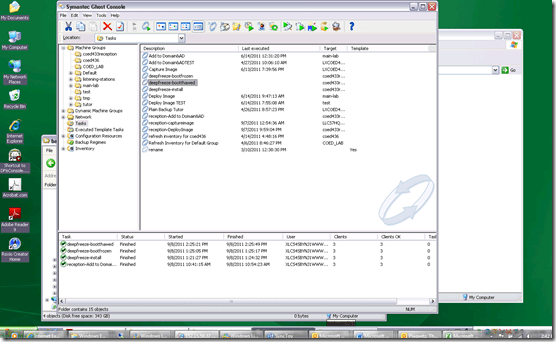
-
I hope this was my last trip down the “general computing” infrastructure Geisterbahn for a while. I was actually trying to apply productivity software infrastructure to a local business process, and merely to free up some time for elearning pedagogy…
How to transfer calls on the Cisco IP Phone 7912

If you mistype, don’t leave the caller hanging, but rather follow these steps (kindly provided by Alesha) to recover: Likely you left the caller on hold.
- Press the hold key (illuminated red button that is shaped like a stop sign)
- Press transfer
- Dial appropriate extension
- Press transfer again!
- Because the telephone is already in the cradle, students do not need to hang up or press the EndCall key.
How to enable a secondary monitor, using the Dell Monitor: Front Buttons
If the Monitor is in no-signal mode (indicator: screensaver test image floating across the screen, may be color test or single color like message below) ,

try to press front button: icon “monitor with incoming arrow” AKA the ”input selector” (may be leftmost or the 2nd button from the left), to help the monitor detect the input signal ( setting “Autodetect” should do just this, but seems to fail).

This has been tested to work (turn the monitor on to display a signal received in a dual monitor setup) on the dual monitors connected to both the LRC teacher and reception desk computers.
How to do Call forwarding on the Cisco IP Phone 7912
Press button “CFwdAll“:
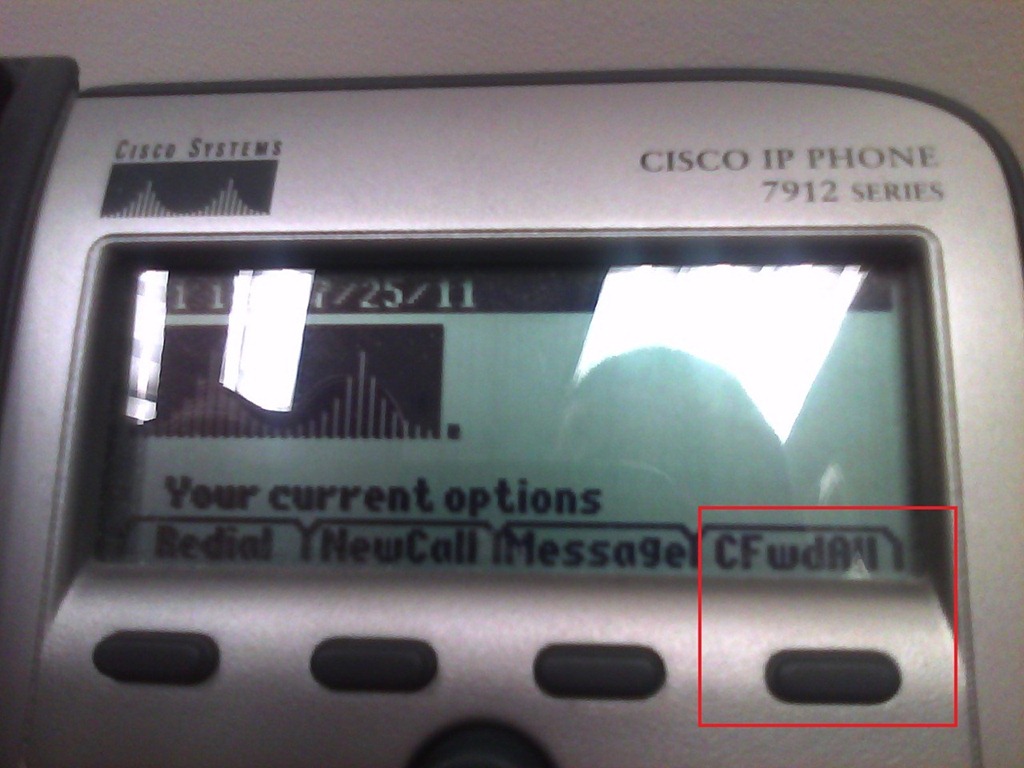
Type the phone number:
 .
.
To un-forward, press button “CFwdAll” again.

Questions? Read the About. Or just ask me a quick Our Databases: Resources with calendars -- Language learning material Moodle Sites, multimedia files -- films


FAQs for LRC student staff or for students or for teachers. To search our FAQs, in the browser addressbar, add after "https://plagwitz.wordpress.com/feed/?tag=faqs+/" "+TAG1" (from tag cloud below) OR "https://plagwitz.wordpress.com/feed/tag=faqs
&category_name=" "CAT1" (from category hierarchy below). OR search both categories and tags, and multiple TAGs/CATs (connect with "," for OR-search, with "+" for AND-search), like so: https://plagwitz.wordpress.com/feed/?tag=TAG1+TAG2+...TAGn&category_name=CAT1
+CAT2+...CATn"
Other ways to find help
If you cannot find it here, look there: 5,500 Language-Learning Links and Programs for learning or teaching 150 languages
Shortcuts:Our Lists, Our Maps, LRC Staff Moodle Site,LRC Project Moodle Site, 49erexpress, UNCC Moodle, Student Recordings: s:claslcslrcsanakostudent
Learning usage samples: Sanako oral exam, Kaltura webcam presentation, Dictation with speech recognition, Sanako written exam, Chinese and Japanese interactive stroke-order practice
Test the Sanako Installer, Webbrowser Popup Konfigurator for XP, or Windows7, faster LRC TeacherPC Log-in Let MS facilitate diacritics writing by installing for you US-International keyboard layout
This is my personal blog (Google+). The views expressed on these pages are mine alone and not those of my employer. The information in this weblog is provided “AS IS” with no warranties, and confers no rights.

